Find & Replace mode allows you to use either plain text or Regex code to search for and replace objects on the page. This topic shows you how to use Find & Replace mode in SiteSpect's A/B Campaign Builder to build a simple test. The following are the basic steps:
- Name the Campaign and make some initial settings.
- Specify one or more Variations you'd like to test.
- Assign one or more Metrics and a Key Performance Indicator (KPI) to the Campaign.
- Include or exclude one or more Audiences.
These steps assume that you're creating a Campaign with the fewest possible components: an A/B test with one Variation, one KPI, and one predefined Audience. After you build this Campaign, you'll be able to build a variety of Campaigns with more components.
Launching the A/B Campaign Builder
To open the A/B Campaign Builder, select New then A/B Campaign.
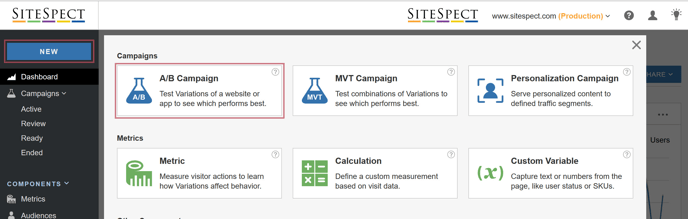
The New Campaign page opens.
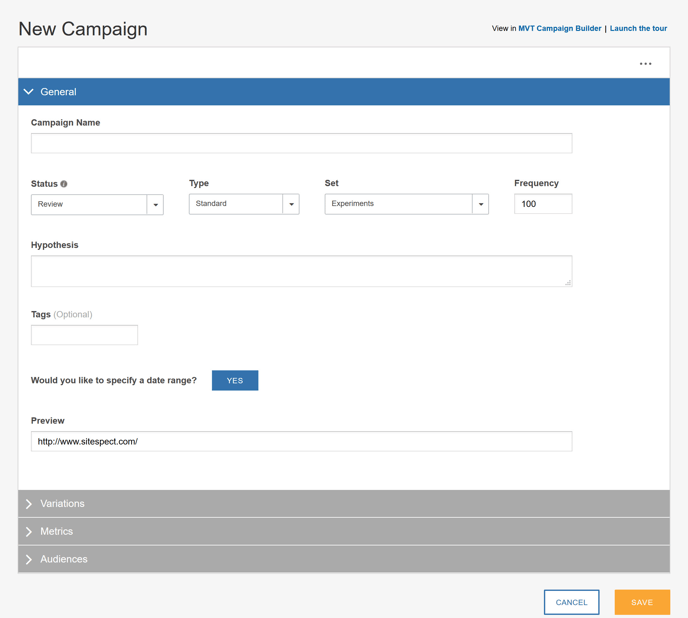
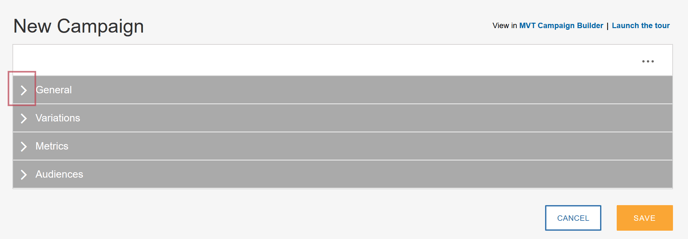
The page is divided into four sections, one for each of the major tasks. The triangle toggle next to the section name opens and closes the page sections.
You do not have to build the entire Campaign in one session. To save your work between sessions, click Save at the bottom of the page. The Campaign does not start running until you start it manually by changing its Status or the Campaign start date you specify arrives.
Name the Campaign
- Open the General section of the page.
- Enter a descriptive name for your Campaign. The name you enter appears in the Campaign List.
- Leave the default Campaign status as Review while the Campaign is under construction.
- Select Standard from the Type drop-down.
- Leave the Frequency set to its default.
- In the Hypothesis field, enter a brief statement that describes what this Campaign accomplishes; it explains what results you expect when you run this test.
- In the Tags field, enter the name of a new or existing Tag. If it's new, SiteSpect asks you to confirm that you want to add the Tag.
- Click Yes next to Would you like to specify a date range? and use the calendar to specify a start date in the Begins field. If you need one, you can specify an end date as well. Remember that if you don't specify an end date, once started, the Campaign runs until you stop it.
- By default, the Preview field contains the domain for your site. This is your original website that you will use to preview of changes. In most cases, you'll leave this as is.
Specify Variations
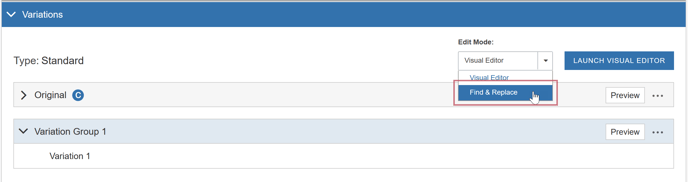
Variations describe the changes you want to test on your website. You can define Variations using the Visual Editor, the default, or Find & Replace mode. These instructions use Find & Replace mode so the first step is to change edit modes.
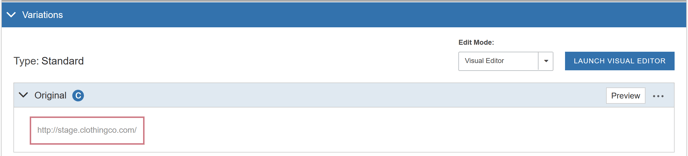
- On the right side of the Variations area, select Find & Replace from the Select Edit Mode drop-down.
Once you make this selection, the fields in the Variation section of the page change. Refer to Variations Overview to learn about all the components of this page area. In short, just remember that there is a Control—marked by the "C"—which is usually your original website, and as many Variations Groups as you choose to create. The following image shows you the Control. You can see that the Original is the website that is currently configured as the Site in SiteSpect. In this case, it is http://www.stage.clothingco.com.
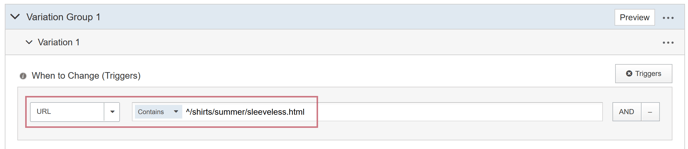
- Open Variation1 and rename it if you like. The When to Change area defines Triggers, which determine when to show the changes to your visitors. Ensure that URL is selected, which tells SiteSpect that if a visitor arrives at this URL, you want to show that visitor some changes. In this field, enter the URL without the domain. For example, if you want to change the page located at http://www.mysite.com/shirts/summer/sleeveless.html, you'll use ^/shirts/summer/sleeveless.html. The ^ is a regex character used to anchor the text; it matches at the start of the string.
- Use the Find this field to describe what you want to look for on the page. For example, if you're working on the page sleeveless.html and you want to change the word Camisole to Cami, enter Camisole.
-
Use the Replace with this field to enter Cami.

Assign Metrics
A Metric is a user behavior you want to influence and measure. You can use Metrics in your Campaigns to learn how your changes have affected visitor behavior. A KPI or Key Performance Indicator is the Metric you have chosen to be the most important measurement of the Campaign.
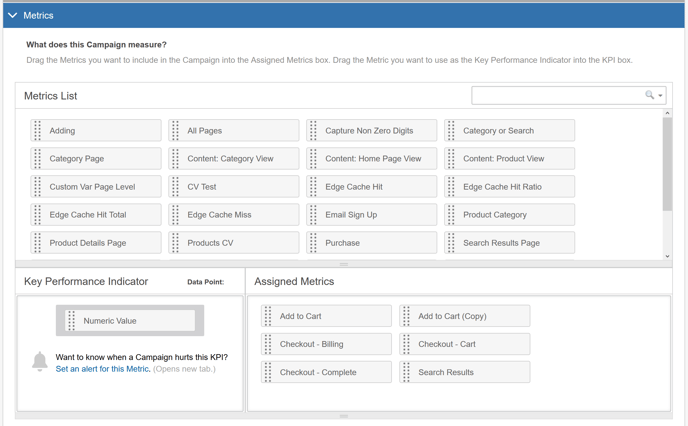
The Metrics area of the page allows you to select a Key Performance Indicator (KPI), which is required, as well as Metrics.
The following image shows the Metrics area of the New Campaign page. The image shows Numeric Value as the KPI. If you have defined a Metric as the Critical Metric, a setting on the Metrics page when you define it, then it shows up here as the KPI. You can change it if you like.
- Select a Metric from the Metrics List–if one isn't already specified by default–and drag it to the KPI area of the page
- Select one or more Metrics from the Metrics List and them to the Assigned Metrics field.
Assign Audiences
Audiences determine which users are included in or excluded from a Campaign.
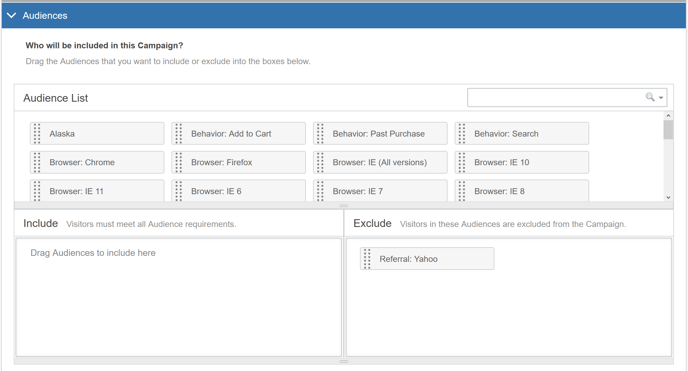
The following image shows that visitors who use Yahoo will be excluded from the Campaign. It does not show any Audiences to include.
-
In the Audiences section, drag one or more Audience from the Audience List to the Required field to include those users in the Campaign.
-
Drag one or more Audience to the Excluded field to exclude them from the Campaign.
When more than one Audience is selected, a visitor must meet criteria specified by all Audiences in order to be included in the Campaign. Be sure you do not include Audiences that make it impossible for a visitor to be included. For example, don't include one Audience that specifies that the visitor must come from Massachusetts AND another Audience that specifies that the visitor must come from California. If you do, the Campaign will have no assignments.
Save the Campaign
Be sure to click Save at the bottom of the Campaign Builder page to save the Campaign.