You can create as many Factors as you want. You must have created at least one Factor before you can create an MVT Campaign. Factors are listed on the Factor List page.
To begin creating a new Factor:
- Select New then Factor. The New Factor page opens.
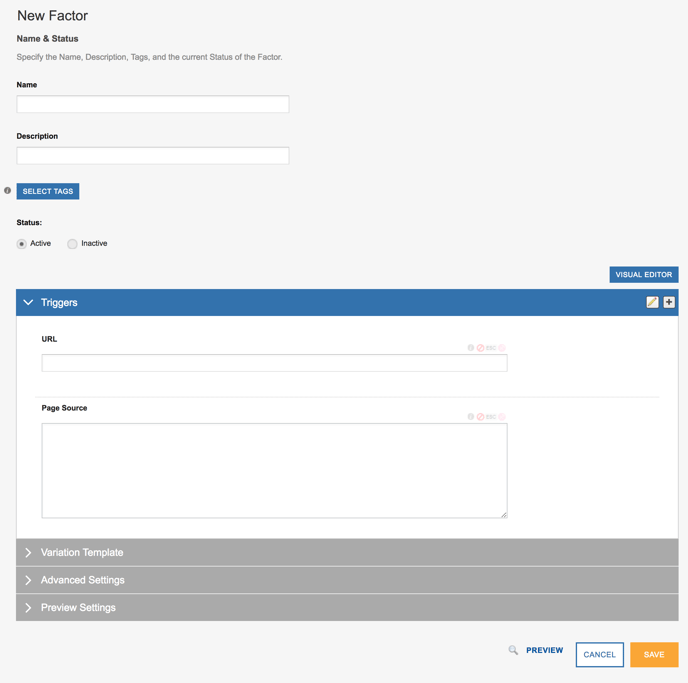
The Factors page displays the following areas:
- Name & Status fields contain basic information about the Factor.
- Visual Editor button opens the Visual Editor that allows you to create Factors and Variations using a WYSIWYG editor.
- Triggers tell SiteSpect what pages contain the Factor that you want to test.
- Variation Template allows you to select the Factor type to establish a template that you can use as a starting point for the different Variations that you create for this Factor. New Variations start pre-filled with the content in the template.
- Advanced Settings specify how you want SiteSpect to treat some of the more complicated matching scenarios.
- Preview Settings specify where you want the preview session to start when you click Preview and whether or not to display Site Variations with the preview.
Later on, this page may contain two additional areas:
- Campaign Associations displays a read-only list of the Campaigns that use this Factor. This section of the page appears only after this Factor has been assigned to a Campaign.
- History reports the actions taken on this Factor such as creation, editing, deleting, and so on.
Specifying Name & Status
The Name & Status area, as on many of SiteSpect's tabs, contains fields that contain some basic information about the component.
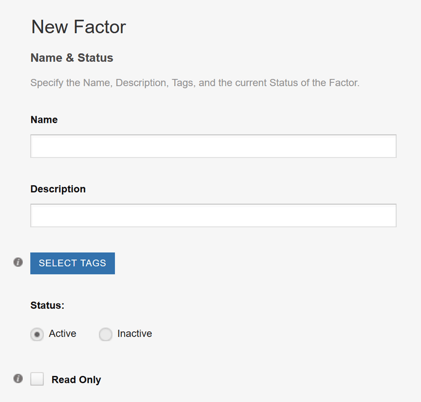
- Enter a Name for the Factor. SiteSpect uses the Name on the Factor List page as well as on reports. This field is required.
- Enter a Description that provides some detail about why you created this Factor. The Description is optional.
- Tags organize objects into groups. For example, you may want to organize your Factors by type such as Check Out or Product Page. You may also want to use Tags to group objects you are currently working on by creating a Tag with your name and applying the Tag to your objects. To choose a Tag, select it from the existing list of Tags. Tags are optional.
- Choose a Status: Active or Inactive. This setting is an on/off switch of sorts. If the Status is set to Active, the Factor is available to Campaigns. If it is set to Inactive, it will not be listed among the available Factors when you are creating a new Campaign.
- Select Read Only if you want this field to be viewable but not editable. This feature is available only for System Administrators.
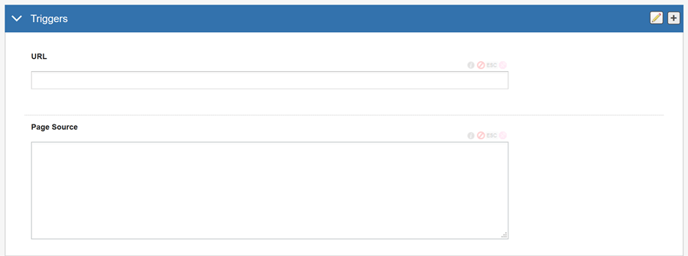
Specifying Triggers
Triggers tell SiteSpect what you want to match on the page. When a visitor lands on your website in the course of a running Campaign, SiteSpect evaluates qualities about the visitor and the places that visitor has been on your website and compares them with Triggers you have specified. When the page or visitor qualities match, SiteSpect shows the visitor a Variation of this Factor and counts the visitor in the Campaign.
- Click the Triggers bar to open that section of the page. There are several different categories of Triggers, but only two of them, URL and Page Source are displayed by default.
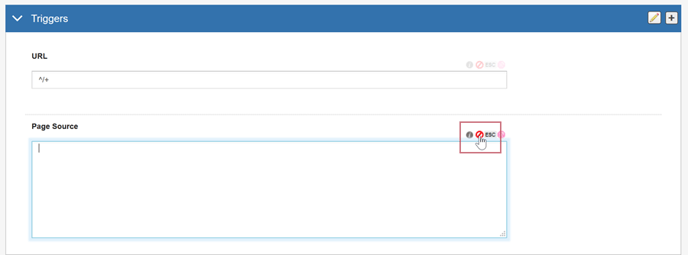
- If you want to match a particular page (the most common Trigger, use a URL Trigger. Enter the URL you want to match without the domain. SiteSpect already knows the domain because it was provided when the Site was configured.
- If several of the pages on your site use the same URL, you can focus the match more specifically by adding a Page Source Trigger. For example, if each stage of the check out process uses the same URL (i.e., /checkout.asp or ^/checkout\.asp in regex) but you want to match only the final stage that includes the page title "Confirm Order," use the following Page Source Trigger: <title>Confirm Order</title>.
When you choose a Trigger on the Factor page, you must complete its fields before SiteSpect allows you to save the page. If a Trigger is displayed but you do not want to use it, click the Delete button to remove it.
Specifying the Variation Template
The Variation Template area of the page allows you to set some defaults for Variations of this Factor that you may create in the future. The values you specify in this section become the default values for any Variations of this Factor that you create, until you modify them when defining a new Variation. Click Variation Template bar to open that section.
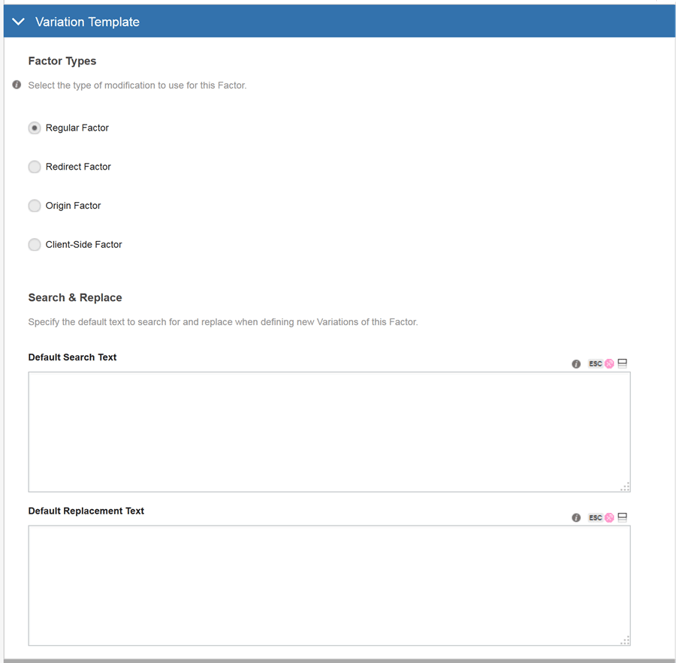
The top part of the Variation Template part of the page allows you to select what type of Factor you are creating. The Factor Types field specifies what type of Factor you are creating and what it will be used for. There are several types:
- Regular Factor (the default)
- Redirect Factor
- Origin Factor
- Client-Side Factor
Origin and Client-Side Factors are available only if these features are enabled. See Types of Factors for more information. When you choose a Factor Type, the fields displayed within the Variation Template change to suit the type.
- Select the Factor Type.
- Complete the fields associated with the type of Factor you select.
Specifying Advanced Settings
The Advanced Settings area of the page allows you to specify several settings of a more advanced nature. These settings are:
- Link to Factor
- Evaluation Sequence
- Required Visit Rating
- New Visit Rating (if match occurs)
- Count User When Triggered
- Disable Campaigns and QuickChange Variations when Search Text Fails to Match
- Disable Campaigns and QuickChange Variations when Cookie Name Conflicts with Existing Site Cookie
To learn more about the Advanced Settings, review Advanced Settings for Factors.
Specifying Preview Settings
The Preview Settings area of the page specifies where you want the preview to start and allows you to make some selections pertaining to Variations.
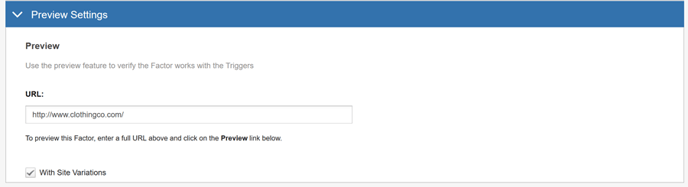
The URL field contains the full URL for the page where you want the preview to start. It contains, by default, the domain of the current Site. Type the full URL in the URL field, including the domain.
The With Site Variations setting allows you to preview the Factor with any Site Variations that are defined.
Saving the Factor
Click Save when you are done to save the new Factor. It is now listed on the Factor List page and is available for you to use while creating a Campaign.