How do I modify multiple elements on the same page?
This topic provides an example of how to create a Campaign that changes several elements on the same page. To do this we use a single Variation Group that contains three Variations that all use the same Trigger, specified as the same URL. You will work with the following components:
- an Original
- a single Variation Group that contains the following three Variations that make changes to the same page:
- Change Add to Cart to Buy Now.
- Change Sale ends next week to Sale ends tomorrow.
- Change 15% off to 20% off.
- a Trigger that determines when to show the Variations to your visitors, specified as a single page
- a single Key Performance Indicator (KPI) that measures if the change was effective
Building the Example
Let's say that you want to test the three changes described above. The following steps explain how to use the Campaign Builder to do that in very broad steps. For greater detail, click on the highlighted terms within the steps or view the other more detailed topics within the help.
-
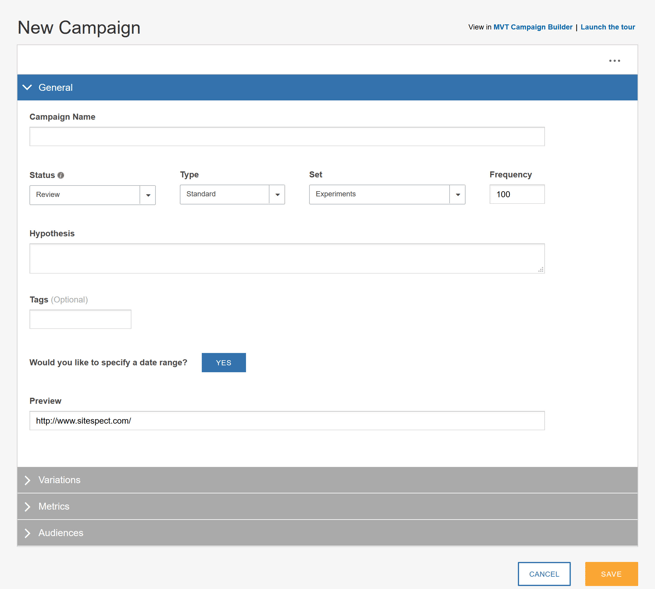
Start out by creating a new Campaign: select New, A/B Campaign. The New Campaign page opens.
- Define the Campaign.
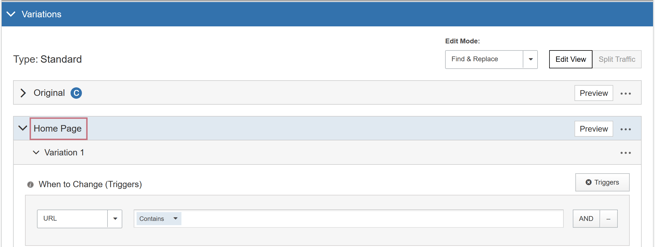
- Create a Variation Group called Home Page.
- Open the first Variation Group and rename it to Change the Buy Button.
- Define the Variations.
- Rename Variation 1 to Buy Now.
- Define a Trigger called Home Page that shows the Variation to a visitor only when the visitor views the Home page.
- Add two more Variations.
- Define the changes for the Variations.
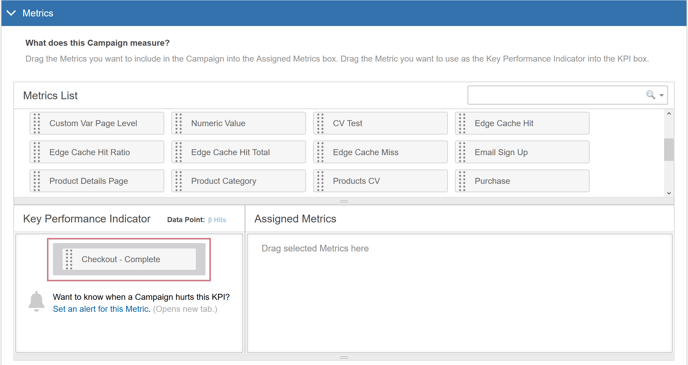
- Add a Key Performance Indicator (KPI) that measures how many visitors got to the Checkout Complete page after seeing the Variations.
Define The Campaign
- Open the General section of the page.
- Enter a descriptive name for your Campaign. The name you enter appears in the Campaign List. For this example, enter Three Changes to the Home Page.
- Select Standard from the Type drop-down.
None of the other fields in this section of the page are required. Feel free to skip them for now.
Create a Variation Group
The Variation Group contains a collection of Variations that you want to test together. Variations describe the changes you want to make to a specific page. In this example, we're going to make three changes to the Home page: index.html.
You can define Variations using the Visual Editor or using Find & Replace mode. The Variations section uses Visual Editor by default. However, this example uses Find & Replace mode so you'll have to switch to that mode.
- Open the Variations section of the Campaign Builder.
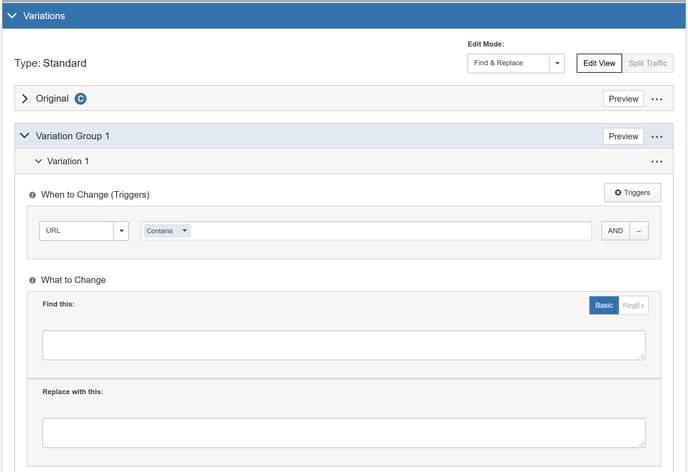
- On the right side of the Variations area, select Find & Replace from the Select Edit Mode drop-down.

Once you make this selection, the fields in the Variation section of the page change. The Variations section will look like the one in the following image. Refer to Variations Overview to learn about all the elements of this page area.
-
Open Variation Group 1 and change its name to Home Page. To edit the name, click on the text and replace Variation Group 1 with Home Page.
Define the Variations
In this next section, we'll define three Variations and specify a Trigger that works for all three.
- Rename Variation 1 to Buy Now.
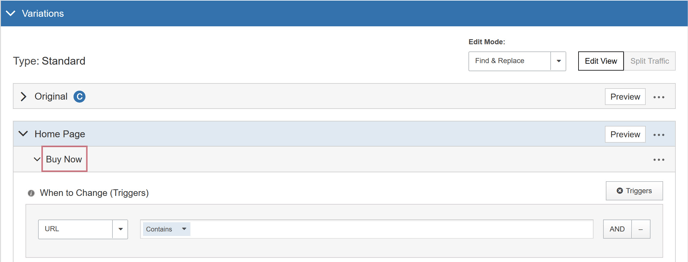
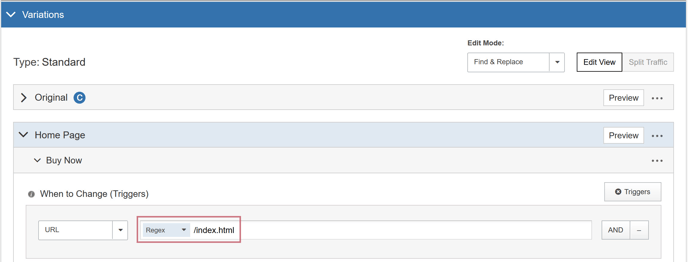
- Triggers determine when to show the Variation to visitors. For this example, we want to show the visitor several changes if the visitor lands on the Home page. We do this by specifying a Trigger that recognizes when the visitor lands on the Home page. In the Triggers area, URL is selected by default. Select Regex from the drop-down and enter /index.html in the field next to it. When a visitor lands on http://www.mysite.com/index.html, the visitor sees the Variations you define.
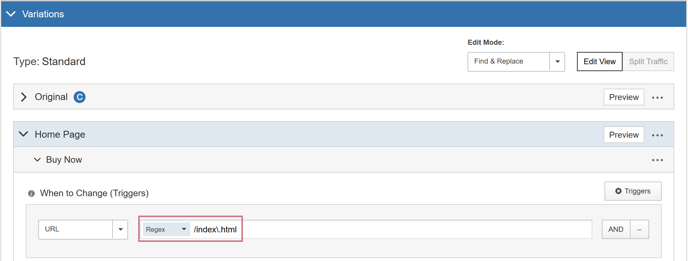
- At the right end of the entry field, notice the little ESC button. Click ESC to escape the content of this field. When the text is escaped, it looks like this:

6. Click Save to save your work.
7. On the right side of the page in the name row of the first Variation you created, click on the three dot menu and select Copy from the menu.
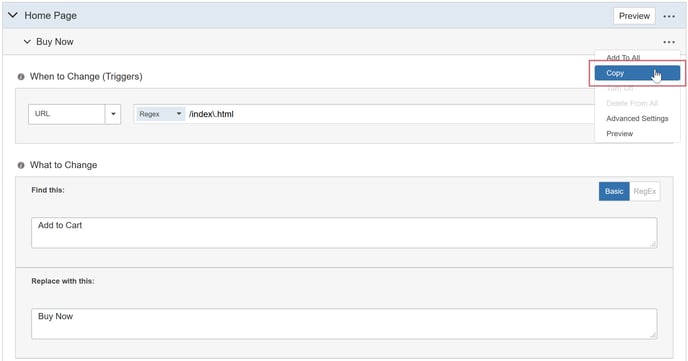
SiteSpect adds another Variation to the Variation Group.
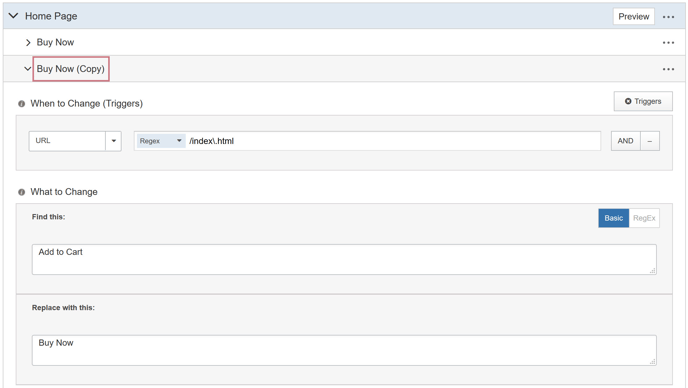
When you're done, the Variation should look like the one in the following image:
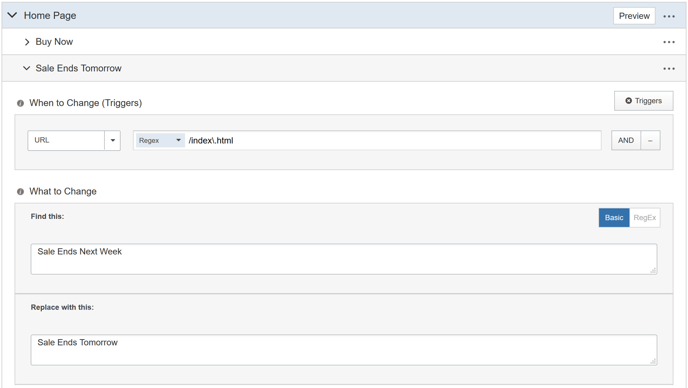
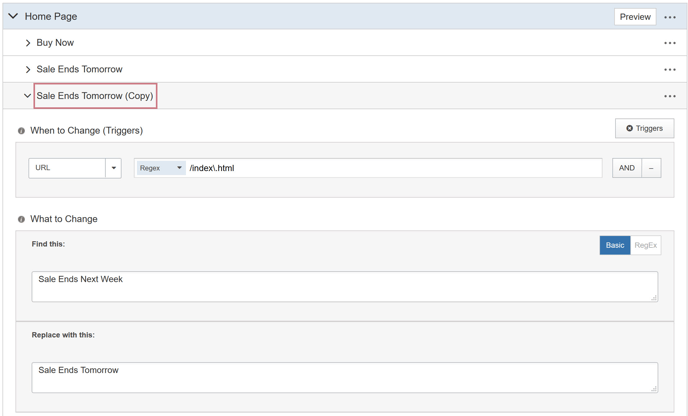
10. Rename the new Variation to 20% off. Open the Variation by clicking the small arrow to the left of its name. It is a copy of the Sale Ends Tomorrow Variation. It has the same Trigger and the same Find and Replace text.
11. Leave the Trigger as is because it tells SiteSpect to look for text on the Home page and that's where you want all your changes to be reflected. But change the Find text to 15% Off and change the Replace text with 20% Off. Once you do, you will have finished creating the Variations you need.
Add a Key Performance Indicator
- Open the Metrics area of the page and drag one Metric to the KPI (Key Performance Indicator) box. In this case, you want to use a Metric Called Checkout Complete. This measures how many visitors get to the Checkout Complete page when shown the Variations you designed above.

