SiteSpect lets you purge all visitor and visit data from a Campaign. After you perform a purge, no data is available for reports until new visitors are assigned to the Campaign. In addition, any current visitors are dismissed from the Campaign and can not be reassigned to the same Campaign. Before you perform a purge, keep in mind that the operation is permanent and cannot be undone.
What to Consider Before You Purge Data
Have a clear goal in mind before you purge Campaign data. When you purge hits and assignments from a Campaign, the visitors who are active during the purge will not be eligible for assignment to the Campaign in the future. Visitors who visited in the past but were not in an active session during the purge can be assigned to the Campaign in the future.
For example, let's say that you have ten thousand visitors assigned to the Campaign and then you click Purge. Those ten thousand visitors are dismissed from the Campaign and will not be assigned to the Campaign if they return to the site in the future.
If you want to be able to assign all the ten thousand visitors to the Campaign should they return to your site in the future, then you should copy the Campaign before performing the purge.
Purging Campaign Data in the A/B Campaign Builder
To purge Campaign data:
- Select Campaigns, then select a Status.
- Select the Campaign whose data you want to purge.
- Select Purge Data from the three-dot menu.
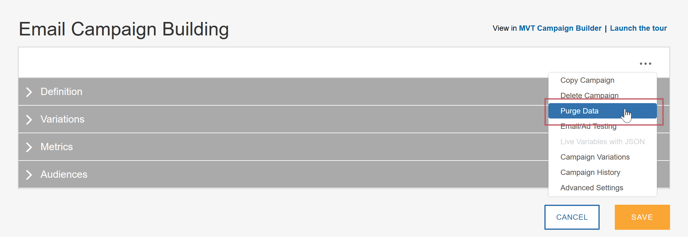
- After you select Purge Data, a confirmation dialog opens asking you to be sure that you want to perform the purge.
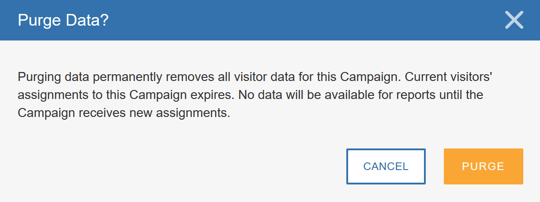
- Click Purge to confirm the purge.
Purging Campaign Data in the MVT Campaign Builder
To purge Campaign data:
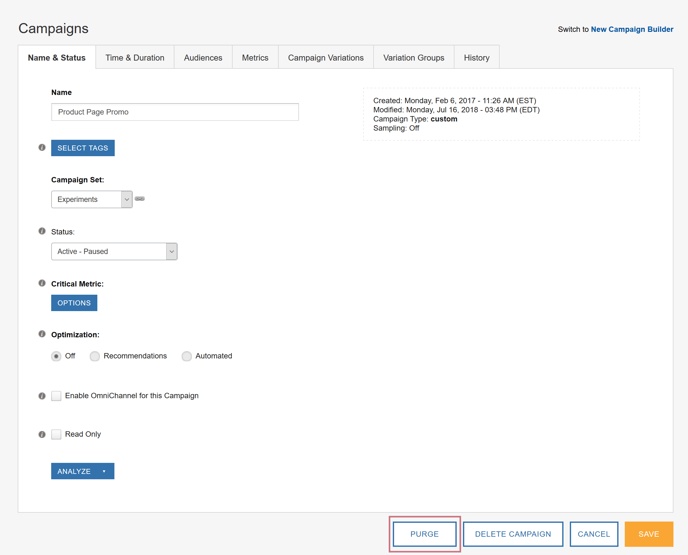
- Select Campaigns, then select a Status.
- Select an MVT Campaign whose data you want to purge.
- At the bottom of the Campaign page, click the Purge button.
- After you click Purge, a confirmation dialog opens asking you to be sure that you want to perform the purge.
- Click Yes to confirm the purge.