SiteSpect Campaigns allow you to use files that you have created for particular purposes such as:
- Swapping image files.
- Using an HTML file that contains alternate code.
- Using an alternate CSS file to test a different style sheet.
Uploading Files to File Storage
SiteSpect allows you to upload files and store them on our servers so that you can have access to them during a Campaign.
To upload a file:
-
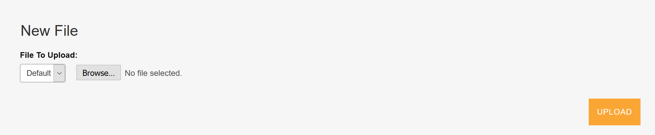
Select Site, Tools, Files, then click New. The New File page opens.
-
In the File To Upload field, leave it set to Default.
-
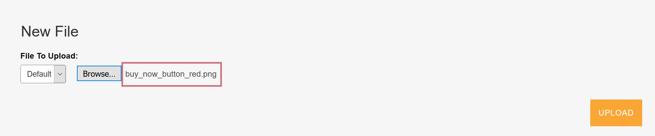
Click the button that your browser displays for locating files, such as Browse or Choose File and locate the file you want to upload.
The filename appears on the New File page.
-
Click Upload. The file is now stored on SiteSpect's server.
Note: SiteSpect does not allow you to upload executable files and archive files.
Accessing Files from File Storage
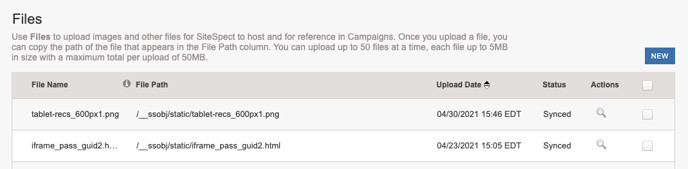
Once you have uploaded a file to File Storage, you will see it in the list of available files.
- To reference the file, use the file path specified. Note that the full URL for the file will be your domain followed by the file path. You can reference this file when building campaigns and global variations.
- To view your file, click on the magnifying glass icon under Actions. This will open your file in a new tab, where you can see the full URL and ensure your file is correct.
Note: This feature may be unavailable to you. Contact SiteSpect Customer Support for assistance.