The Options section of the Time Trends header contains a collection of settings that determine precisely what categories of data are displayed on the report. It is closed when you first open a report page.
To open it, click the little arrow.
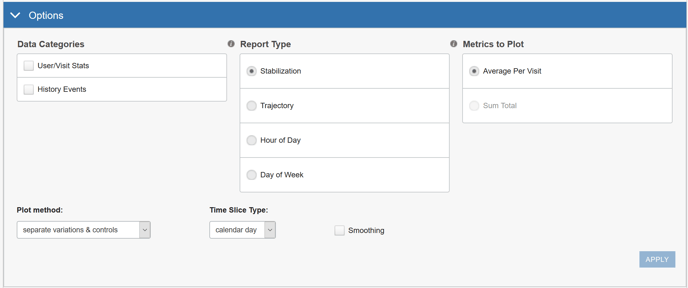
It contains the following categories of selections:
- Data Categories
- Report Type
- Metrics to Plot
- Plot Method
- Time Slice Type
- Smoothing
The selections you make here determine the way the data is displayed on the report.
Saving a Report View
Each of the Reports allows you to save the collection of settings that you have made at the top of the page so that you can use them during a later session, without having to set them up again. To save your report settings:
-
Click in the Saved View drop-down. The drop-down opens, as shown in the following image.

-
Click Save As New View. The Save As New View dialog opens.
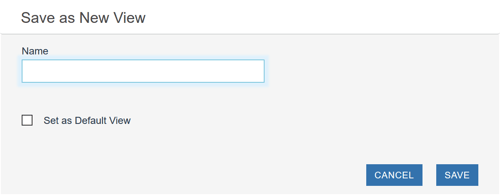
- Enter a name for the report. If you would like this to be the default report view, select Set as Default View. Click Save.