We've created both a video and some step-by-step instructions to help you learn how to test a new search algorithm. The video is right here at the top of this page and the step-by-steps are a little further down.
This training video helps you see how to build a Campaign that tests a new search algorithm.
Test a New Search Algorithm – Step-by-Step Instructions
Search algorithms define the logic behind retrieving specific pieces of data from your database. In the website environment, search algorithms help you find information across all the pages on your site. It may be helpful to sometimes change your search algorithm so that your search function returns a more useful set of results, which may lead to more interest from your visitors.
In this example, we present a test that adds the category field as searchable. The hope is with a new category added to the search algorithm, pageviews will increase.
SiteSpect origin experiments allow you to signal to the origin web server which version of the search to serve by setting a cookie on the incoming request header. The origin reads the cookie and then selects the correct search algorithm based on the cookie.
Intended Audience
This article is for you if you are a developer who has privileges that allow you to make code changes on your origin server. You also must have a solid understanding of Regex, search concepts, and cookies.
Example
The original version of the search algorithm searches through the product title and description. The test version searches through product title, description, and category.
Your hypothesis states that adding category as a searchable field increases the number of product pageviews.
You are going to use a combination of changes to the origin server along with a SiteSpect Campaign to run an A/B test. You’ll include 100% of traffic in the test.
You’ll measure success using a Metric that counts pageviews.
Building the Campaign
Step 1 – Make Changes to Origin Web Server
Before building your SiteSpect Campaign, make the following changes to your origin:
- In the /catalog/model/catalog/ folder, make a copy of the product.php model and name the new one placeholder.php.
- Modify the new file so that its MySQL queries include category.
- Add if else logic to the controller such that, if the visitor has a cookie called search=B, then use the model file placeholder.php; else, use the original product.php.
Step 2 – Build the Campaign
Use SiteSpect to create a new Campaign as follows:
-
Select Build, Campaigns, New Campaign.
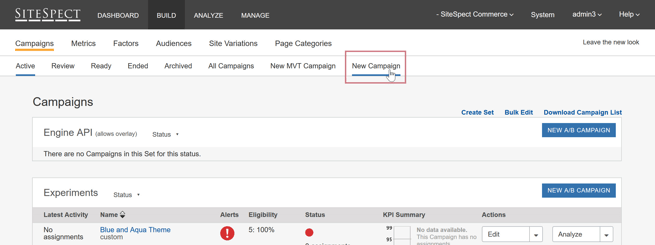
-
Name the Campaign Search Algorithm - Add Category and leave the Status set to Review.
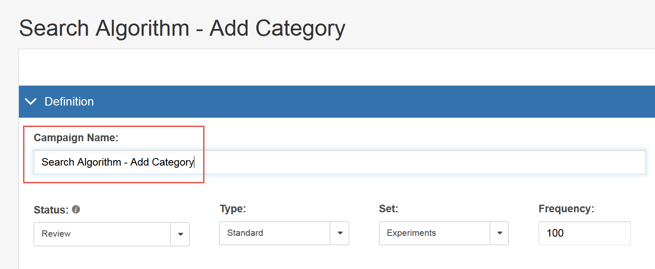 Note: Campaigns start out in Review by default. This status allows you to QA your Campaign before later starting it to run by selecting Active - Running.
 -
Select Origin from the Type drop-down.
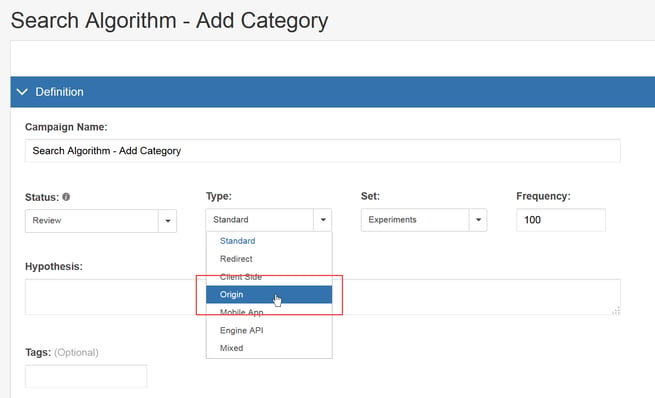
-
Open the Variations area of the page and then the Original section of the page. Leave everything blank.
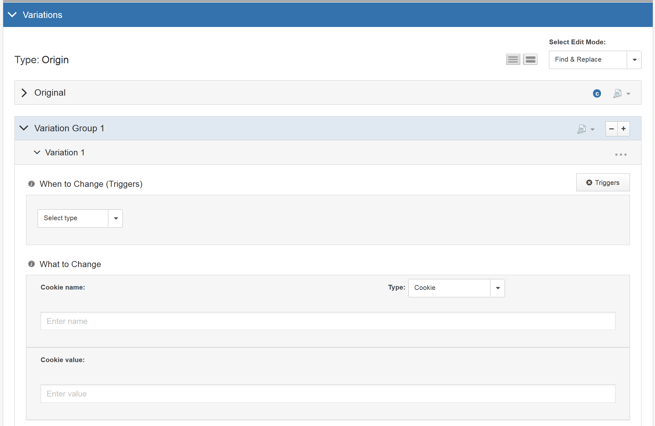
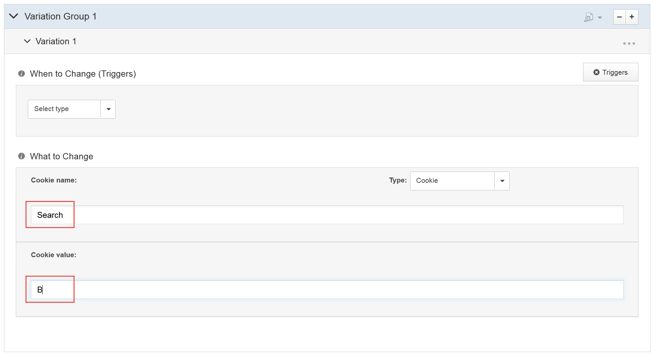
-
In Variation Group 1 define Variation 1 by entering Search in the Cookie Name field and B in the Cookie Value field. This tells the origin that you want to use the modified placeholder.php file you created above to describe your search terms.
- Scroll to the bottom of the page and click Save. You will come back to this Campaign later to add Metrics.
Step 3 – Create Metrics
A Metric is a visitor behavior that you want to influence and measure: a place you want a visitor to go (for example, a web page or a location on a page) or an action you want a visitor to take (for example, submitting a form or clicking a button). Generally each Metric should have at least one URL Trigger (specifying the page) and a Page Source Trigger (specifying the content on the page). Triggers uniquely identify the page so that SiteSpect knows what to measure. In this section, you'll create two Metrics for your test: a Search Results Page Metric and a Product Details Page Metric.
Search Results Page Metric
This Metric measures hits to the Search Results page.
-
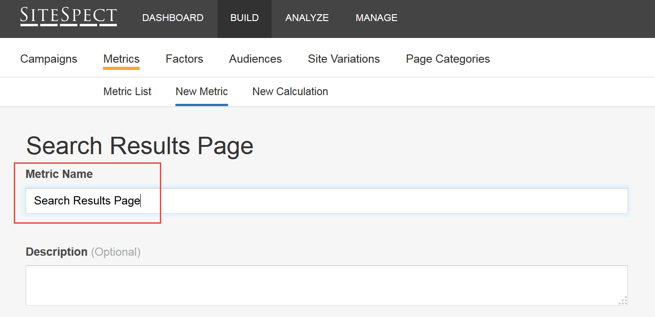
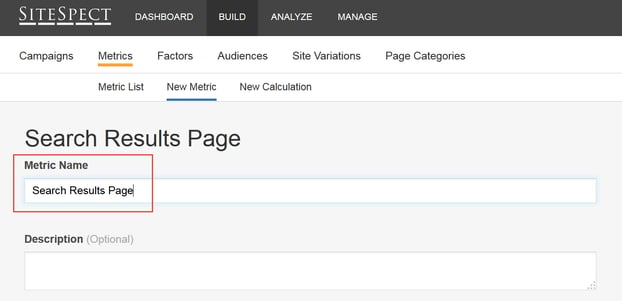
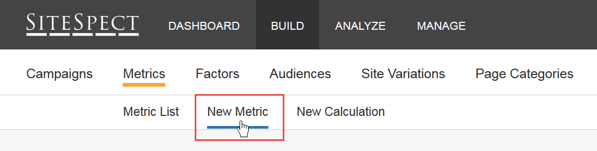
Select Build, Metrics, New Metric.

-
Name the Metric, Search Results Page. Scroll down to the bottom of the page and click Save.
- To define the first Trigger for this Metric:
- In a new browser tab, navigate to this search results page on our sandbox site:
http://examples-demo.sitespect.net/store/index.php?route=product/search&search=canon - Copy the URL from the search results page starting after the domain name up through the URL parameter route=product/search like this: /store/index.php?route=product/search.
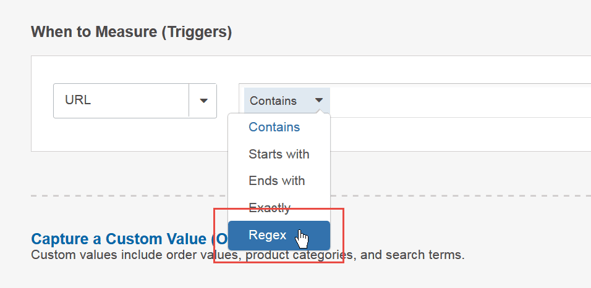
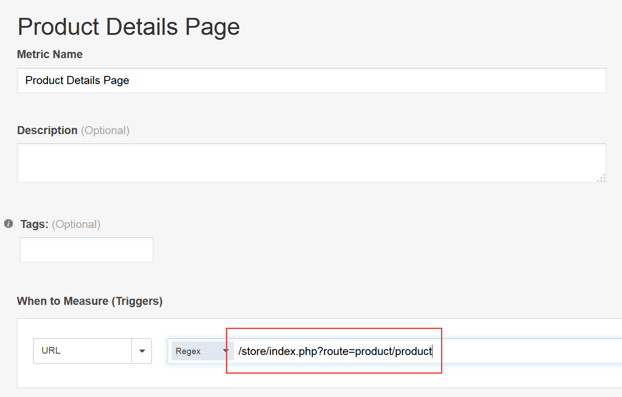
- Go back to the tab in your browser where you were working on the Metric in SiteSpect. SiteSpect automatically selects URL as the default Trigger, so you can leave this as is.
-
Select Regex from the drop-down to the right of the URL field.

-
Paste the URL into the When to Measure (Triggers) area of the page.
-
Click the ESC button in the top right corner of the field to automatically escape special characters.
Before you click ESC.

After you click ESC.

-
Add the caret^ character, a regular expression anchor, to the beginning of the URL field to indicate that the URL must start with /store.

- In a new browser tab, navigate to this search results page on our sandbox site:
- To define the second Trigger for this Metric:
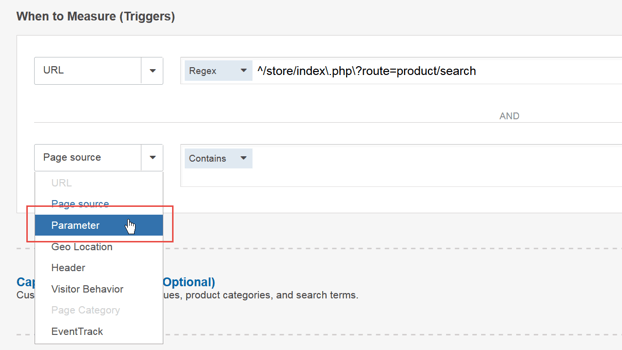
-
Click the AND button and select Parameter from the drop-down.
- Select Regex from the drop-down to the right of the Parameter Name field.
- Type search in the Parameter Name field.
- Select Regex from the drop-down to the right of the Parameter Value field.
-
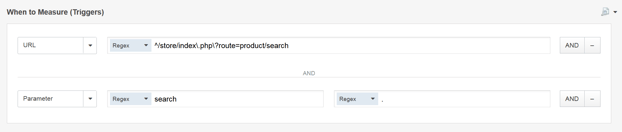
Type a period (.) in the Parameter Value field to indicate any in regex.
The new Trigger looks like the one in the following image:
-
- Click Save.
Product Details Page Metric
This Metric measures hits to the Product Details page.
-
Select Build, Metrics, New Metric.
- Name the Metric: Product Details Page. Scroll down to the bottom of the page and click Save.
- To define the first Trigger for this Metric:
- In a new browser tab, navigate to this product details page on our sandbox site:
http://examples-demo.sitespect.net/store/index.php?route=product/product&product_id=30&search=canon - Copy the URL from the search results page starting after the domain name up through the URL parameter, like this: /store/index.php?route=product/product.
- Go back to the tab in your browser where you were working on the Metric in SiteSpect. SiteSpect automatically selects URL as the default Trigger, so you can leave this as is.
-
Select Regex from the drop-down to the right of the URL field.
-
Paste the URL into the When to Measure (Triggers) area of the page.
-
Click the ESC button in the top right corner of the field to automatically escape special characters.
Before you click ESC.

After you click ESC.

-
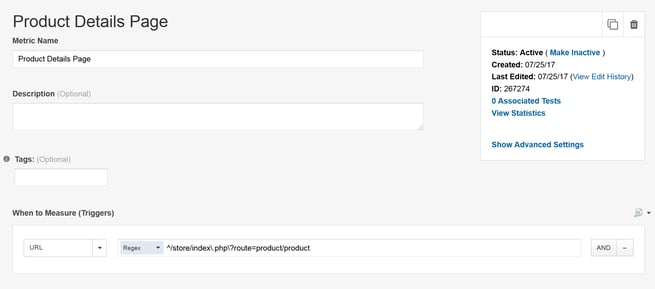
Add the caret^ character, a regular expression anchor, to the beginning of the URL field to indicate that the URL must start with /store.

- In a new browser tab, navigate to this product details page on our sandbox site:
-
Click Save. The new Metric looks like the one in the following image:
Step 4 – Add Metrics to The Campaign
- To open the Campaign you created earlier, select Build, Campaigns, Campaign List, then select the Campaign.
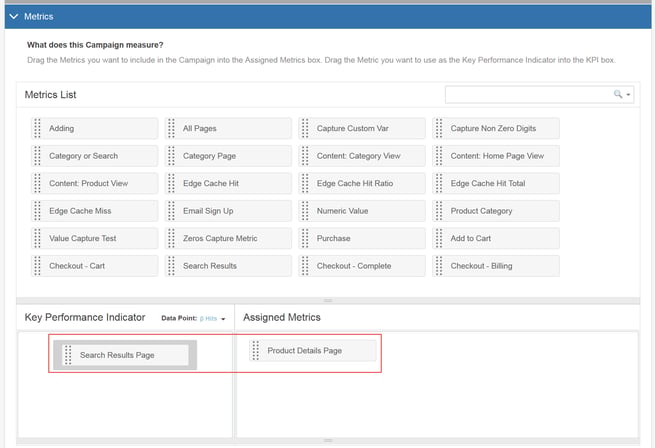
- Scroll down to the Metrics section of the page and click the arrow to open it.
-
Click and drag the Metrics you just created into the Key Performance Indicator field or the Assigned Metrics field. Use the KPI field for your most important Metric.
Step 5 – Review The Campaign
Next you may want to QA the Campaign using the Preview links.
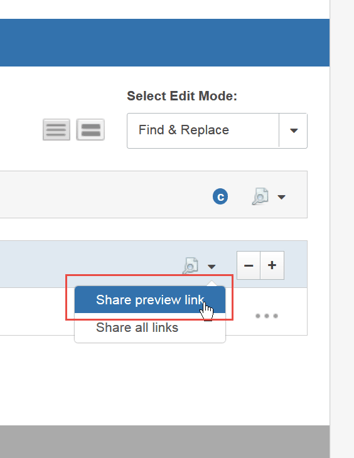
- To generate preview links, go to the Variations area of the page and open the Variation Group you created earlier.
-
At the right edge of the page, click the small Preview icon and select Share Preview Link.
- Copy the link to a browser and navigate around the site to make sure there are no issues.
Step 6 – Set the Campaign to Active - Running
When you first create a Campaign, it is in Review. You must changes its Status to Active - Running to launch the Campaign.
- Open the Campaign again: select Build, Campaigns, Campaign List, then select the Campaign.
In the Status field, select Active - Running.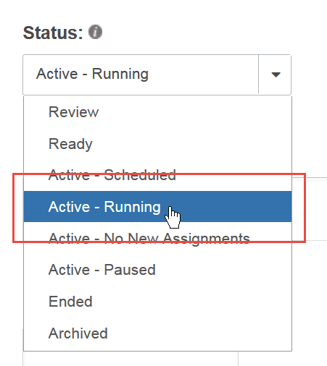
- Click Save at the bottom of the page.
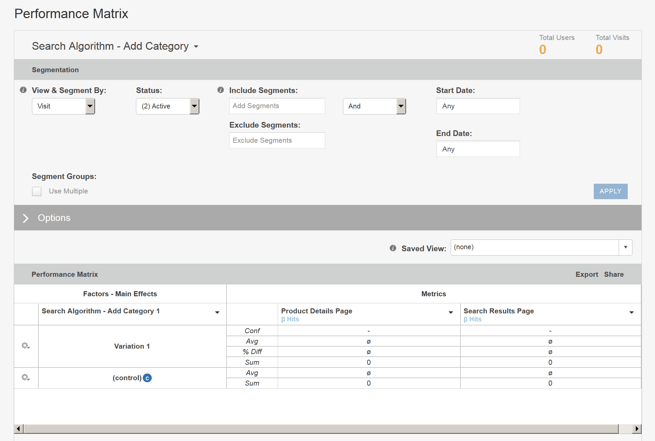
Step 7 – Analyze the Results
To view a report once it has accumulated some data and review the results of your Campaign:
- Select Build, Campaigns, Campaign List.
-
Locate your new Campaign. At the far right side of the page, click the Analyze drop-down and select Performance Matrix.

-
Review the results of your Campaign.