We've created some step-by-step instructions to help you learn how to swap an image on one of your web pages using SiteSpect's Visual Editor.
Image Swap Using the Visual Editor – Step-by-Step Instructions
Your marketing department would like to test a new hero image that they believe will be more engaging and will result in more users clicking the Buy Now button. The following image shows the current PM Clothing.CO home page.
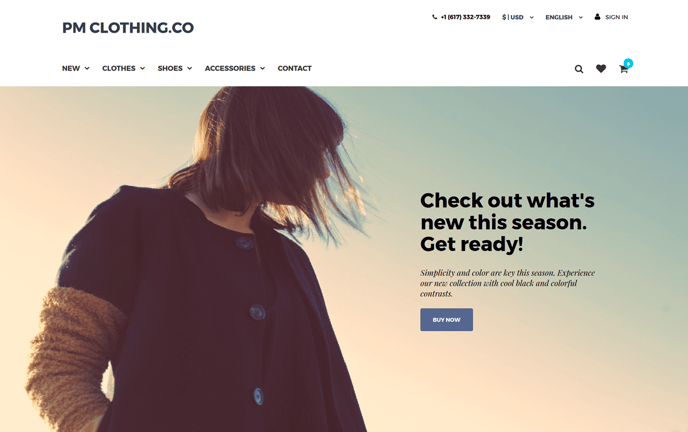
Your marketing department thinks that the following image will work better.

Step 1 – Create a New Campaign
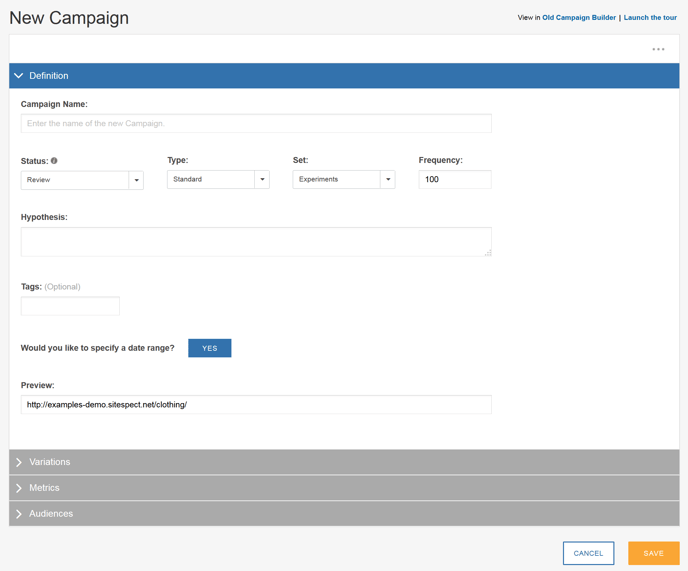
For this simple test, you’ll use the Campaign Builder. You can create most types of A/B tests using this simple, single-page form. To start creating the Campaign, select New > A/B Campaign.
Step 2 – Specify the Campaign Name, Hypothesis, and Preview URL
To specify the Campaign Name, Hypothesis, and Preview URL:
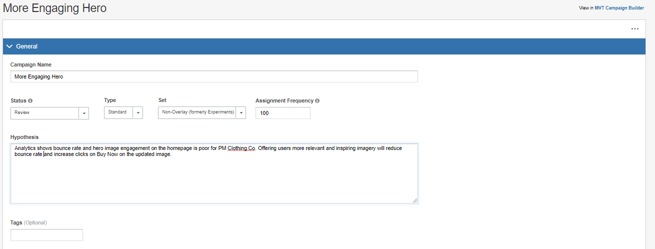
- Name the Campaign More Engaging Hero.
-
Specify the following Hypothesis for the test: "Analytics shows bounce rate and hero image engagement on the homepage is poor for PM Clothing.Co. Offering users more relevant and inspiring imagery will reduce bounce rate and increase clicks on Buy Now on the updated image." The Hypothesis helps others understand why you designed the Campaign as you did and helps when it comes time for Campaign analytics. You may also wish to include a link to any tool(s) you use to document the requirements for the build.
Step 3 – Create a Variation
In this step, use SiteSpect’s Visual Editor to change the hero image to the one you’d like to test.
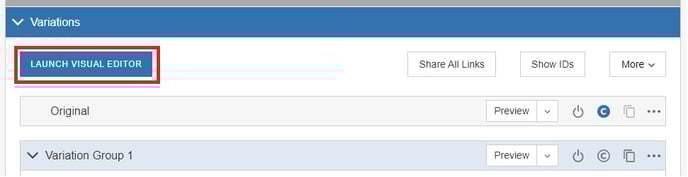
- In the Variations area, click the Launch Visual Editor button, as shown in the following image.
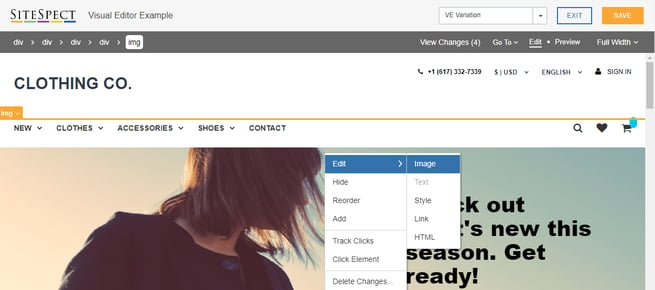
2. Clicking the Launch Visual Editor button will deliver you to your site within the Visual Editor. You want to change the background image. To do so, right-click on the large image and select Edit > Image from the pop-up menu. You can use the DOM tree at the top of the page to make sure you have selected the right page element--in this case, the img shown in the orange tab at the top left of your selected element.
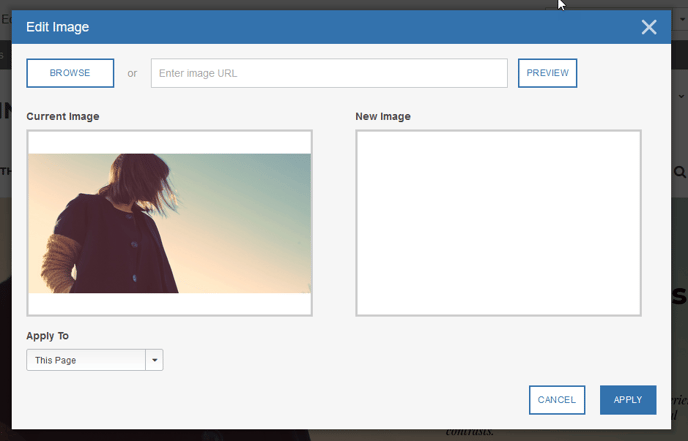
3. Click Browse to select a new hero image. Select the new image on your computer and click Apply.
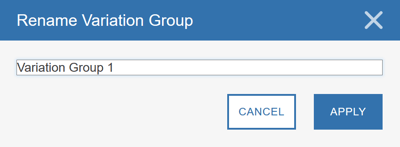
4. To name the Variation Group, select Variation Group 1, then Rename.

5. A small dialog opens allowing you to type the new name. Type the new name and click Apply.
6. Back in the main Visual Editor window, verify the change to the hero image and click Save in the upper right corner. Click Exit to return to the Campaign AB Build Flow.
Step 4 – Save the Campaign
-
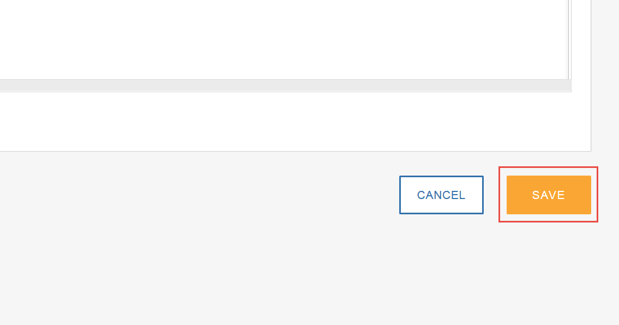
To save the Campaign, click Save at the bottom of the page.
Step 5 – QA the Campaign
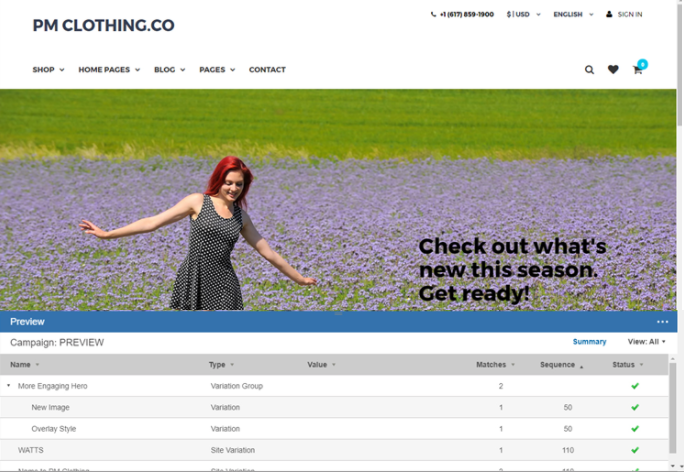
To preview the Variation, click the Preview icon at the far right side of the page or select the shareable links from the additional preview options should you need to send this others.
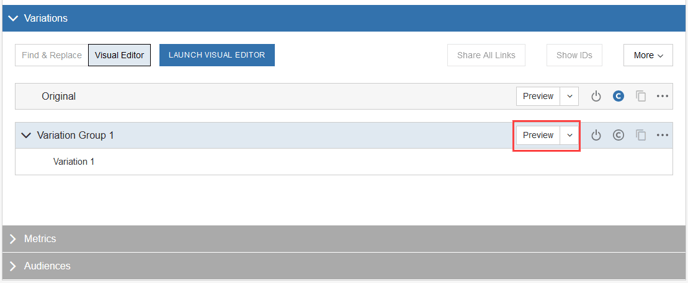
Previewing the campaign displays the Variation for the A/B test with the new hero image in place of the original.