SiteSpect's Visual Editor allows you to make many changes to your webpages to update its visual appearance. In addition to visual changes you can also create click metrics to track users engaging with content in your experiment.
1) Open your site in SiteSpect's Visual Editor.
2) Navigate to the page(s) that contain the element you wish to modify using Go To Page, Preview mode or right click 'Click Element' for the Visual Editor.
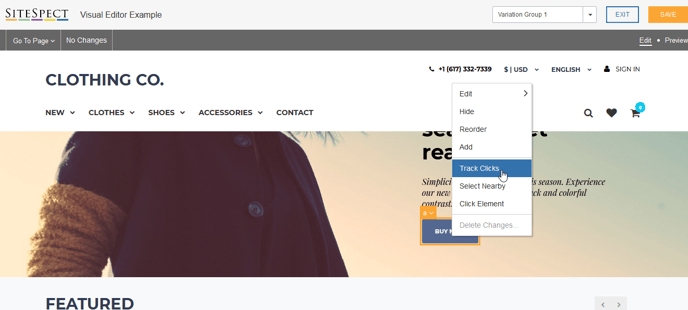
3) Hover over the element you wish to track a click on and select it with a left click. Once selected the element will have an orange border. A right click within this border will present you with options to modify the element.
4) Select the Edit > Track Clicks option.
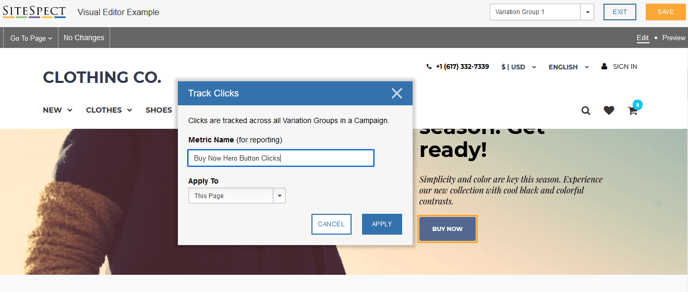
5) Selecting Track Clicks will present a modal for you to specify your click metric name and the pages or Page Categories it should apply on. To save the metric after naming it click apply.
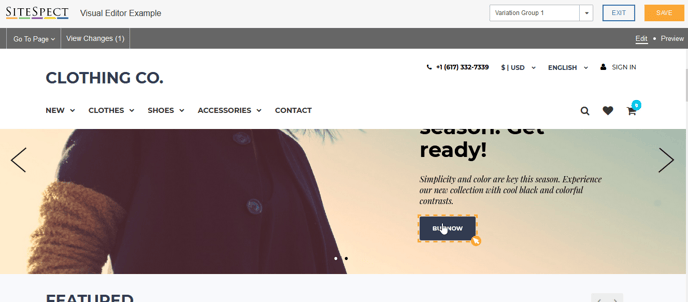
6) Once applied, returning to the page and hovering over the element will indicate there is a click metric set against it. This is demonstrated via the orange cursor icon and dashed border outlined in the example below.
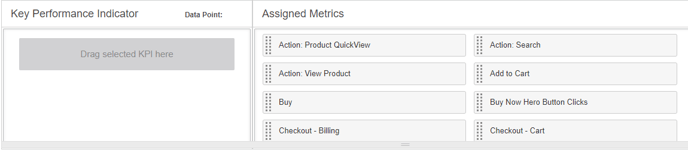
After a metric has been created and saved within the Visual Editor, it will appear under the Assigned Metrics within your campaign:
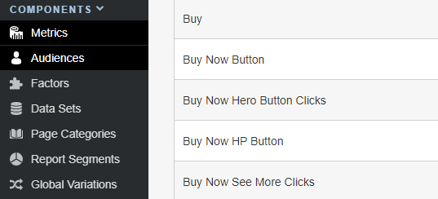
The metric will also be available in the full list of metrics in SiteSpect, as shown below: