SiteSpect's Visual Editor allows you to make many changes to your webpages to update its visual appearance. One such change is the ability to Add new elements on a page or multiple pages across your site.
1) Open your site in SiteSpect's Visual Editor.
2) Navigate to the page(s) that contain the element you wish to modify using Go To Page, Preview mode or right click 'Click Element' for the Visual Editor.
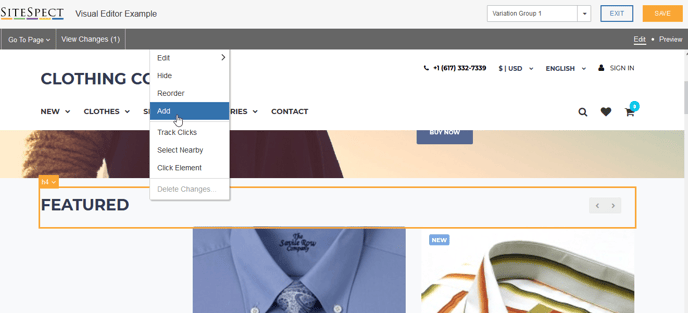
3) Hover over the element you wish to Add a new element against and select it with a left click. Once selected the element will have an orange border. A right click within this border will present you with options to modify the element.
4) Select the Edit > Add option.
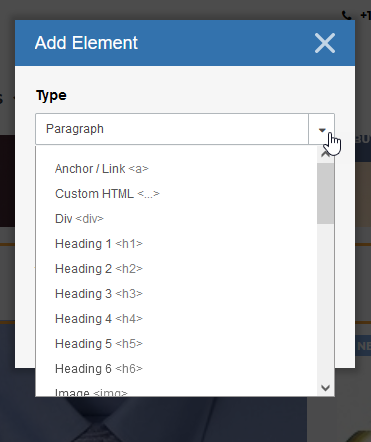
5) The Add option will present you with a large number of content Types to choose from such as Headings, Divs, Anchor/Link, Custom HTML, Image and many more.
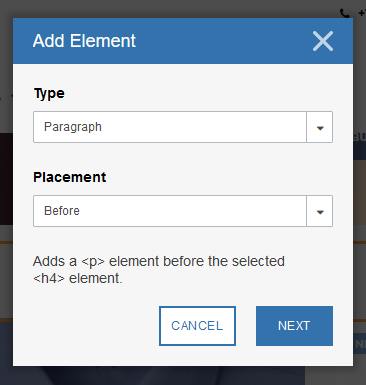
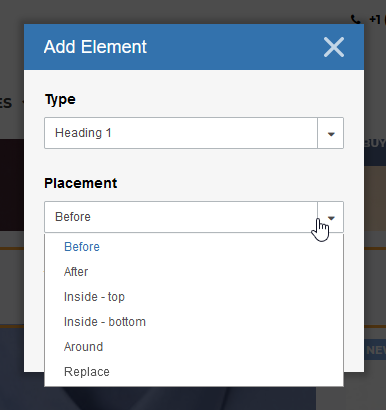
6) In addition to Type you can also customize the Placement of your element so that you can insert the change before, after, inside, around or replace against your selected zone.
7) Once you have selected the Type and Placement for your change you will need to update any template content such as placeholder text if it has been placed into the zone.
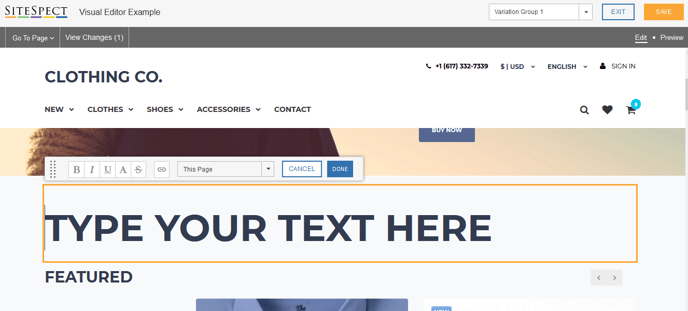
8) In this example inserting a Heading 1 resulted in Type Your Text Here needing to be replaced with the desired Heading 1 of Top Selling Products >.